
How to Mix a Cocktail with a Boston Shaker Straight Up Cocktails and Spirits

Ever wonder how to use a Boston shaker, that 2-piece set of glass and metal tumblers pro bartenders seem to handle with such efficiency and ease? For an up-close, step-by-step tutorial, read on.

When preparing a shaken cocktail, you have two basic types of mixing vessels to choose from: the cobbler shaker (see slideshow) and the Boston shaker set. Although I’ve personally been a longtime cobbler devotee (maybe it’s all those
cocktail scenes
To the beginner, the prospect of using this simple, two-piece glass-and-metal set can sometimes feel a little daunting. (Metal and glass slammed together at unlikely angles! Liquids and ice chunks flying at high velocity, restrained by little more than a vacuum seal!) But with just a little practice, mixing with a Boston shaker will become second nature in no time at all.
What You Need
Ingredients
Approximately half a tray of ice cubes
Liquor, bitters/fruit juice/syrup/egg whites, etc., as called for in your shaken cocktail recipe (For a quick review of when to shake and when to stir, check last week’s column here.)
Tools
Boston Shaker Set (tempered mixing glass and snug-fitting metal tumbler)
Cocktail Strainer (hawthorn or julep)
Instructions
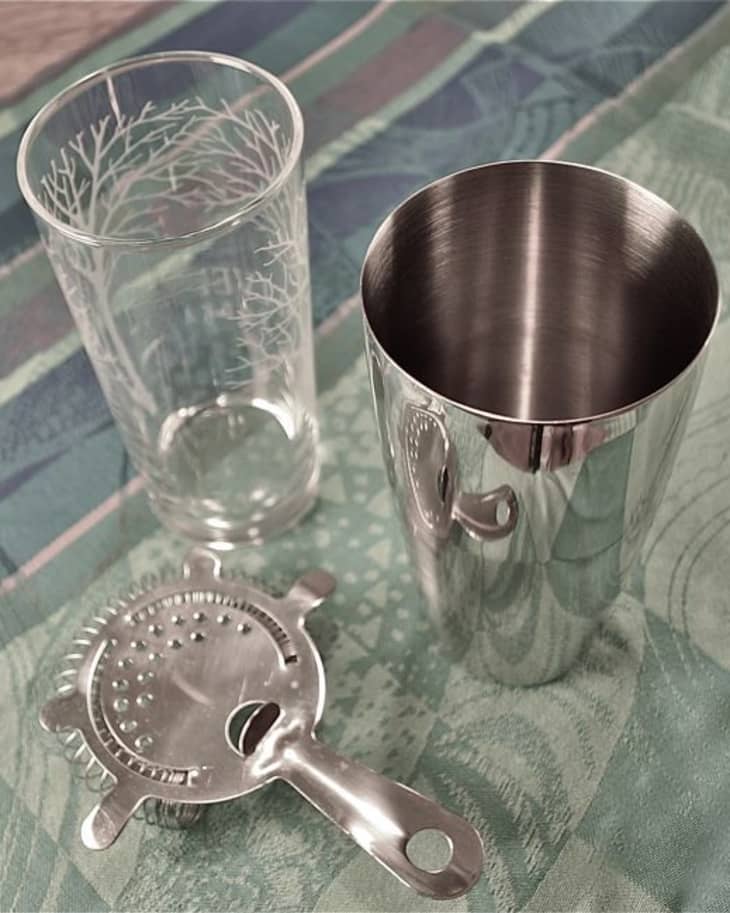
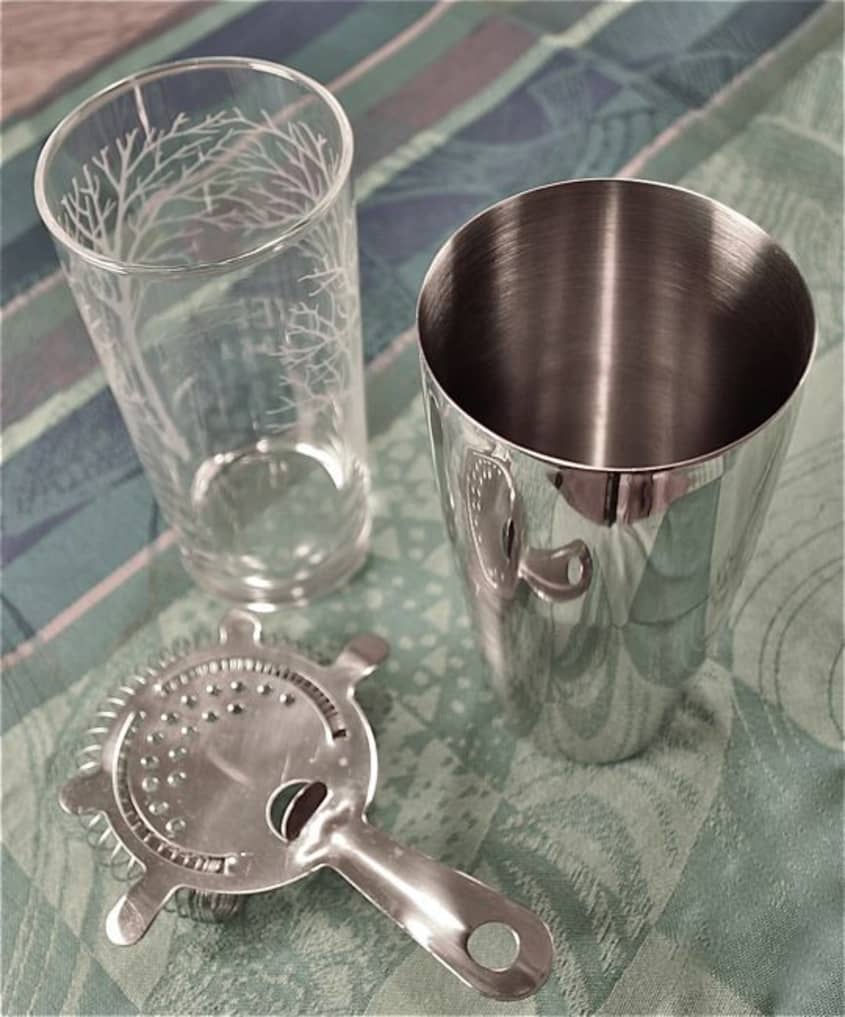
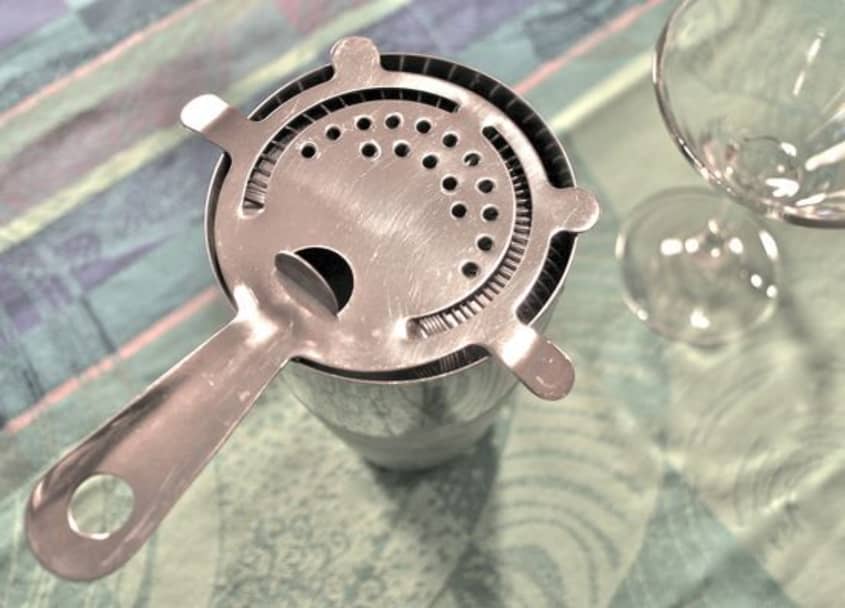
1. There are two parts to a Boston shaker set: a mixing glass (made of tempered glass) and a snug-fitting metal tumbler. A hawthorn strainer (shown at bottom of picture) is usually used as an accessory to this type of shaker.
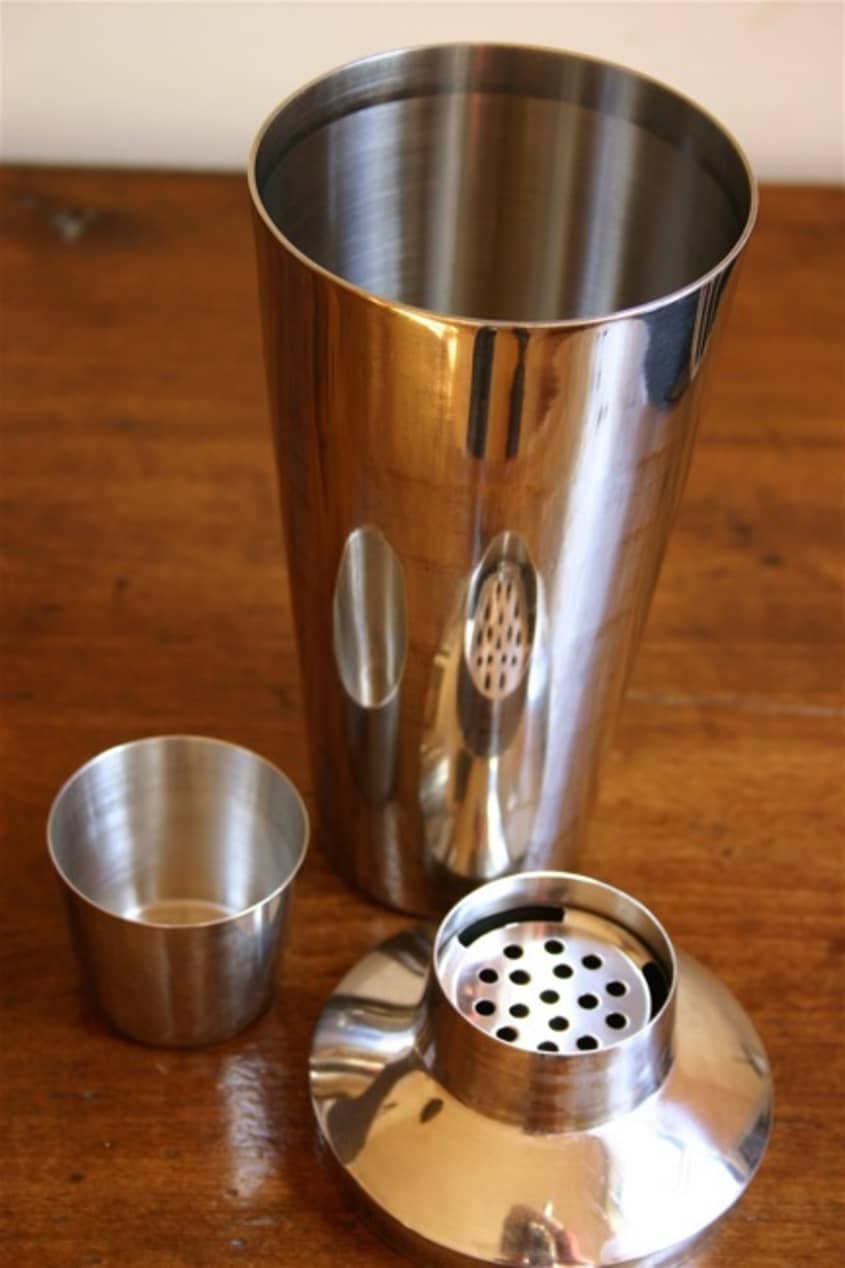
2. (Side Note: For comparison’s sake, let’s take a quick look at the other type of shaker commonly used to mix cocktails: the cobbler. It’s a 3-piece set consisting of a tumbler, a tight-fitting strainer/lid, and a cup-shaped cap that, in many models, can double as a 1-ounce measure.)
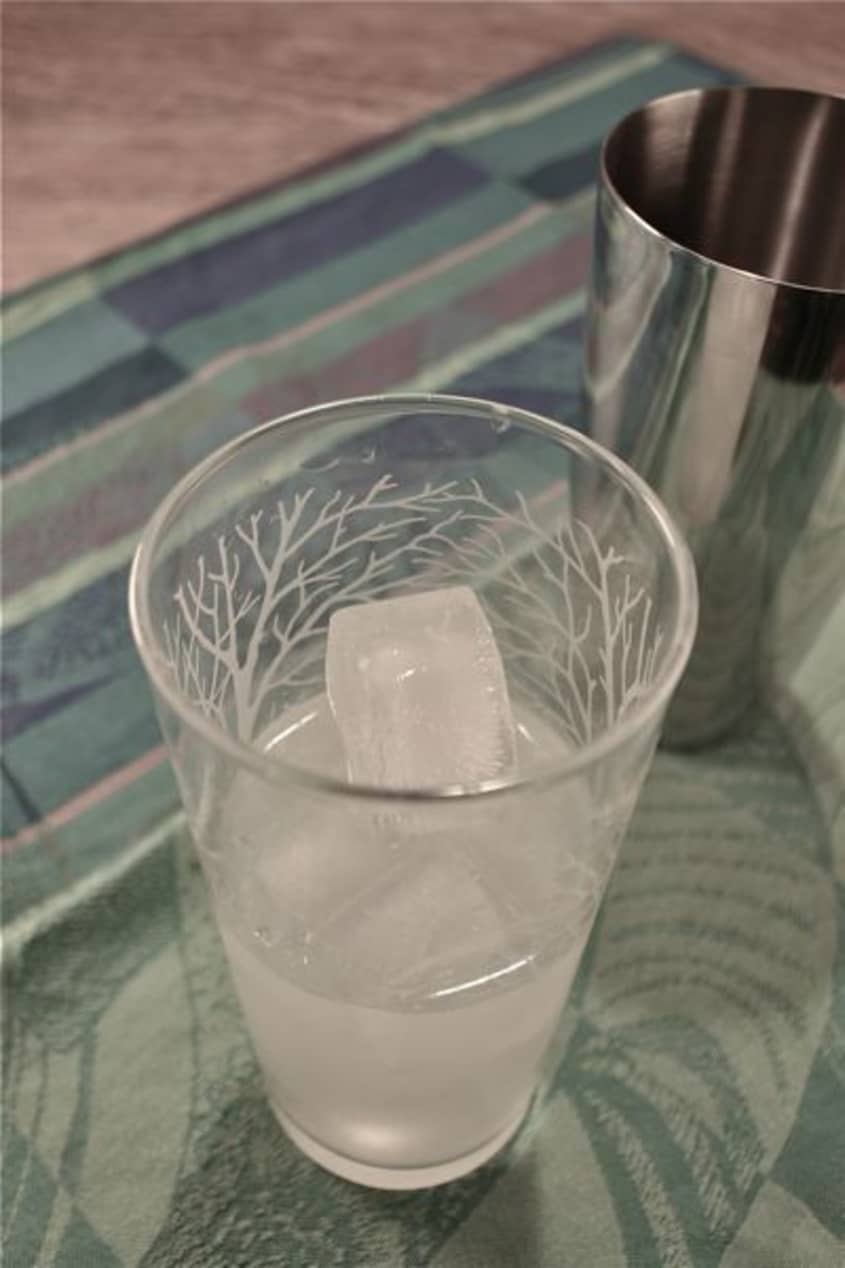
3. Ok, back to the Boston shaker. To begin, place your ingredients in the glass portion of the shaker and fill it up a little more than halfway with ice. (It’s also possible to use the metal portion of the set for this step, but the glass allows you and your guests a better view of the action.)
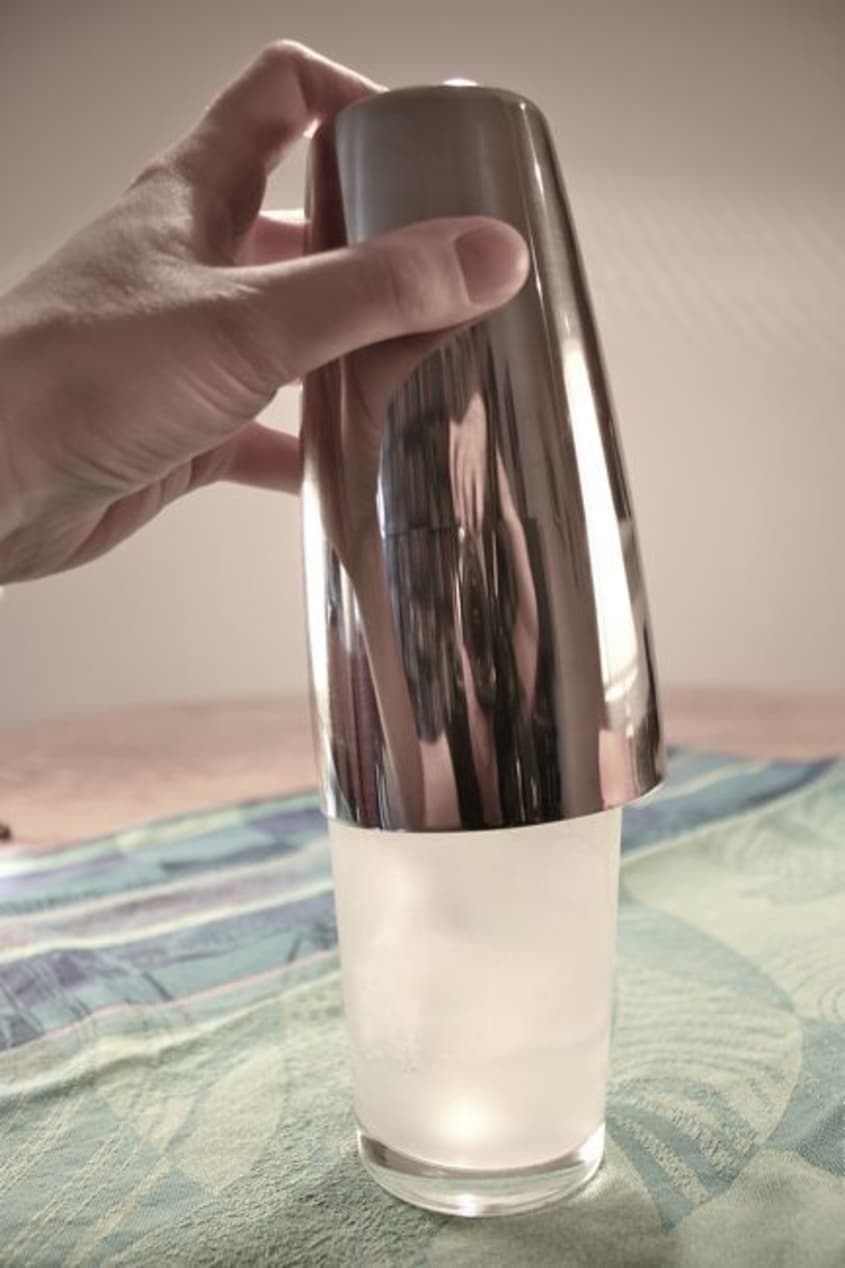
4. Now take the metal tumbler and fit it over the glass at a slight angle.
5. With the heel of your hand, strike the upturned end of the metal tumbler twice so that it makes a tight seal. (Author’s note: please be sure to hold the glass base steady with your other hand while you do this (not shown in this picture)).
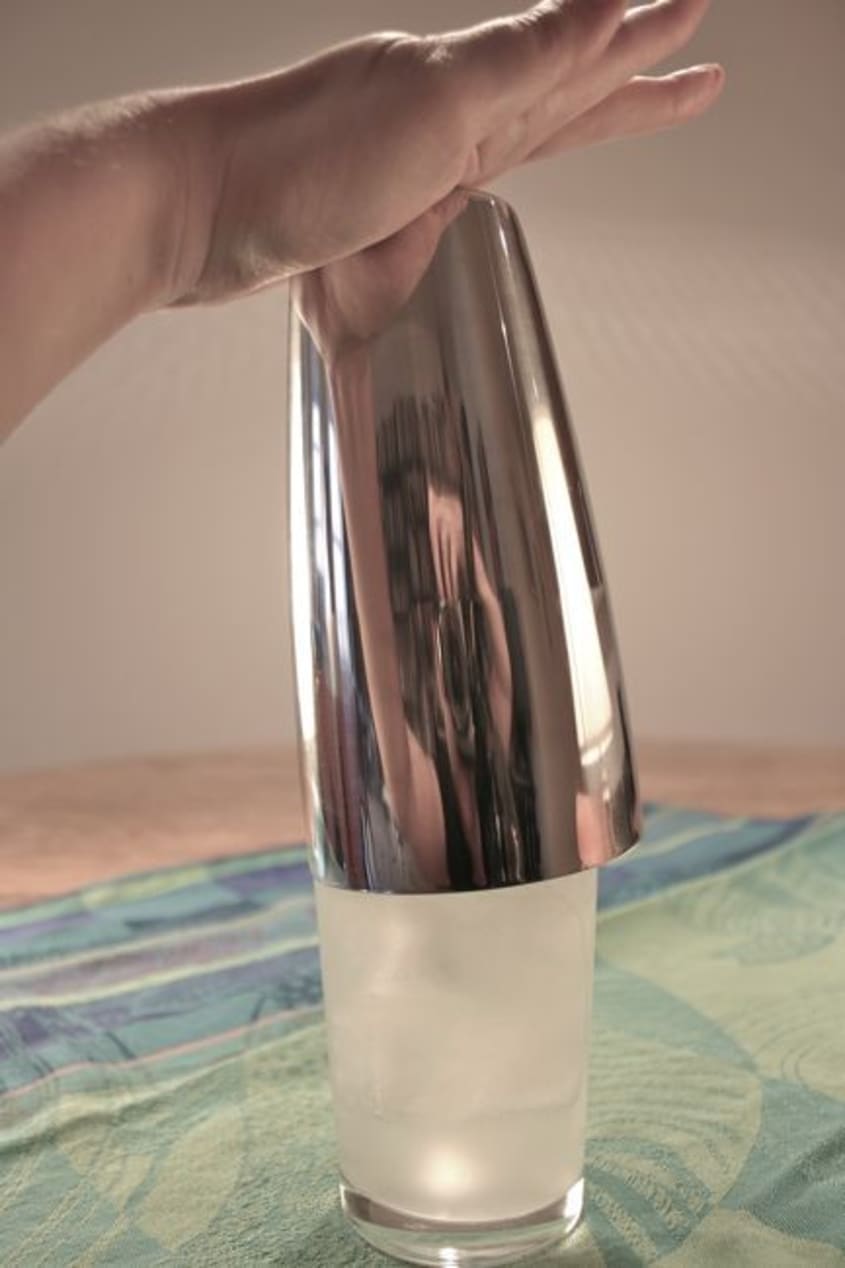
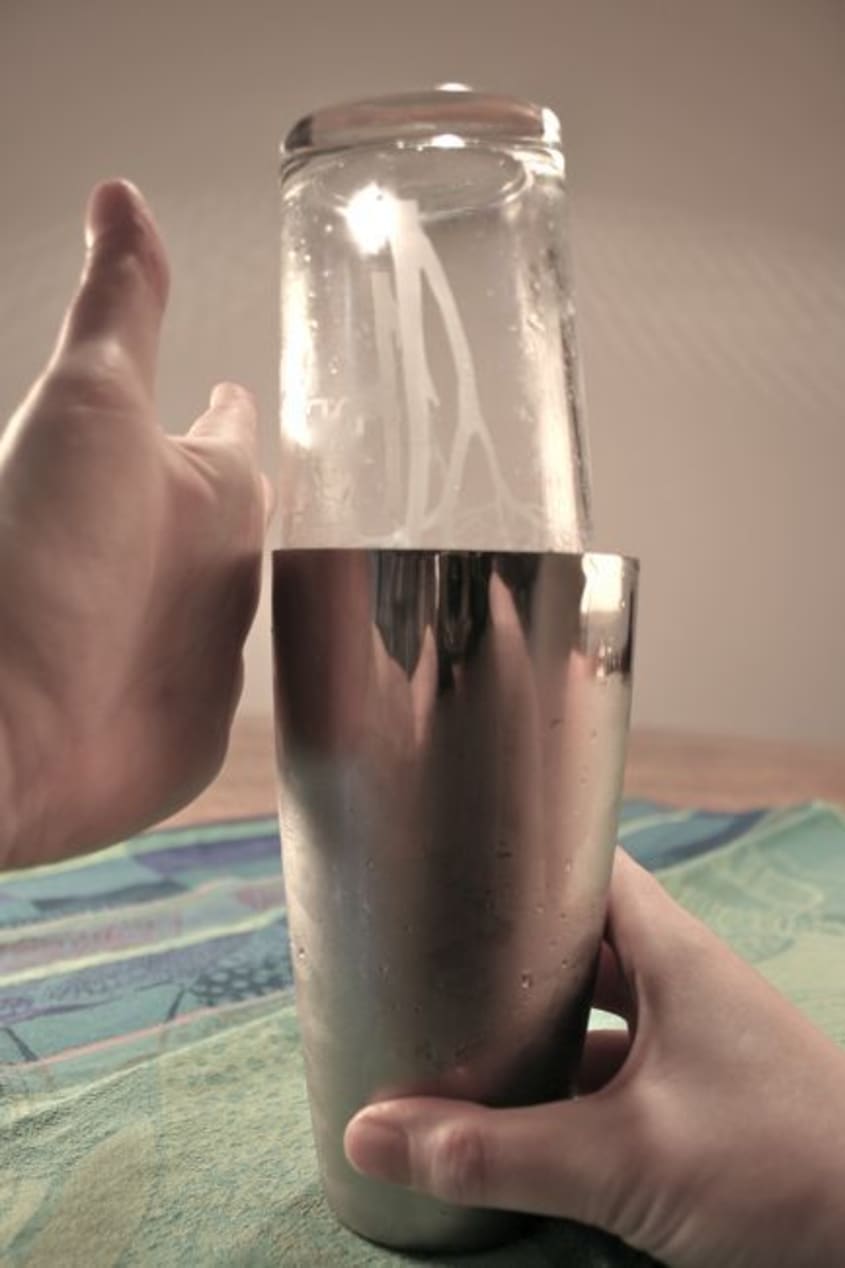
6. Now test the strength of the seal by lifting the shaker off the bar slightly while holding the set by its top end. (If things aren’t secure, give the shaker another whack with the heel of your hand and test again.)
7. Time to get shaking. Before you begin, turn the set upside down so the glass end is pointing upwards. Place one hand on the bottom of the metal tumbler and the other securely across the top of the glass tumbler. (This way, in the unlikely event of a breach in the seal, spills will splash on you, not your guests!) Shake vigorously so that the ice and liquid travel all the way upward into the glass portion of the shaker. You want to “shake it awake, not rock it to sleep.” I personally prefer to shake cocktails at shoulder level. Experiment and see what works best for you.
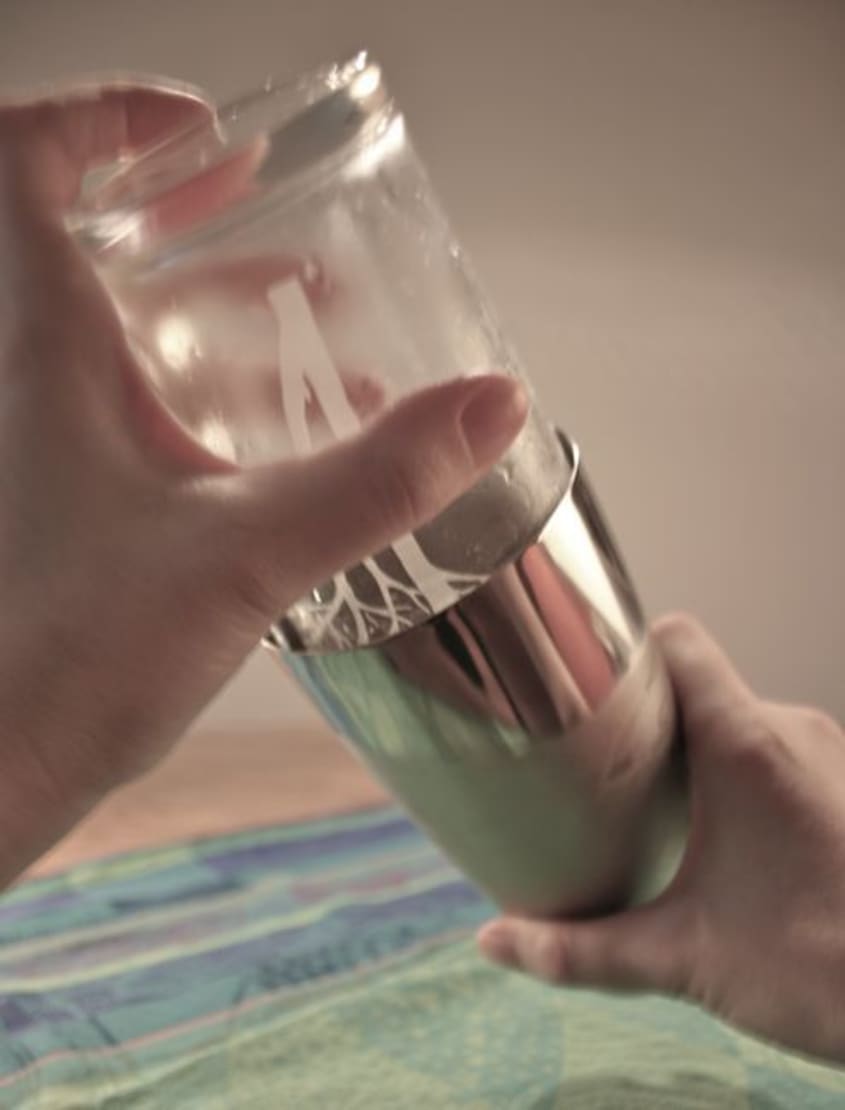
8. After 30 seconds or so of shaking (some cocktails containing egg white call for considerably longer times – consult your recipe), place the shaker back on the counter, metal side down. Holding the unit firmly by its base, use the heel of your free hand to give it a sharp whack at its rim. This should break the seal. (If this doesn’t work the first time, try again from a slightly different angle.)
9. Now that your ingredients are throughly mixed, aerated, and chilled, it’s time to strain out the ice. Place the hawthorn strainer over the top of the metal tumbler. The four metal tabs on the top half of the device and the coiled spring around its bottom circumference ensure the strainer fits snugly over and inside the lip of the shaker.
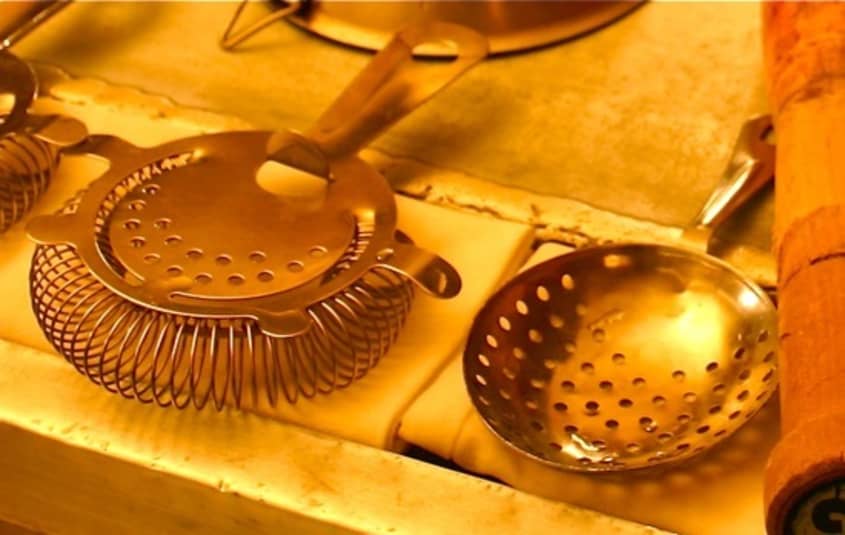
10. (Side Note: There are two types of strainers used with a Boston shaker: the hawthorn strainer (left) and the julep strainer (right). The hawthorn is most commonly used to pour drinks from the metal half of the shaker. But if you ever find yourself pouring from the glass half of the set, be sure to choose a julep strainer for the job. Used with a thick-lipped glass tumbler, a hawthorn strainer will dribble and make a mess.)
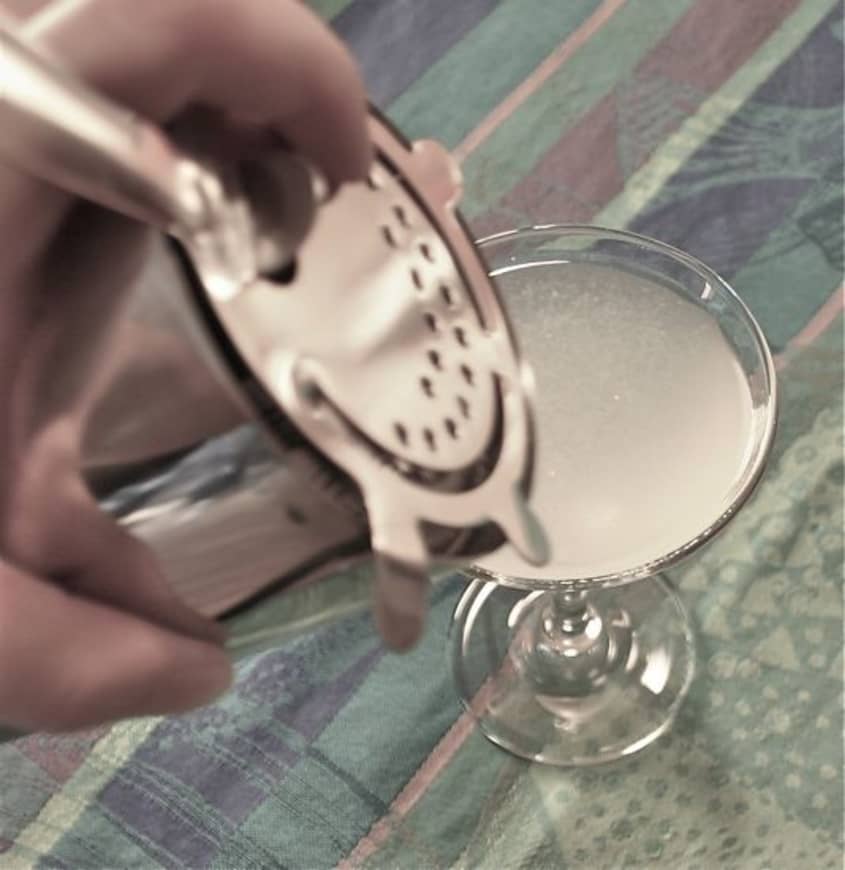
11. Now you’re ready to pour. Hold the shaker in one hand with your forefinger resting firmly on top to anchor the hawthorn strainer. Tip the shaker gently, allowing the liquid to stream slowly into the cocktail glass. Cheers!
Have you tried using a Boston shaker? Cobbler or Boston – which do you prefer?
Want more smart tutorials for getting things done around the home?
We’re looking for great examples of your own household intelligence too!
Nora Maynard is a longtime home mixologist and an occasional instructor at NYC’s Astor Center. She is a contributor to The Business of Food: Encyclopedia of the Food and Drink Industries and is the recipient of the American Egg Board Fellowship in culinary writing at the Writers’ Colony at Dairy Hollow. She previously covered food and drink in film at The Kitchn in her weekly column, The Celluloid Pantry.
(Images: Nora Maynard)