
How To Temper Chocolate Without a Thermometer

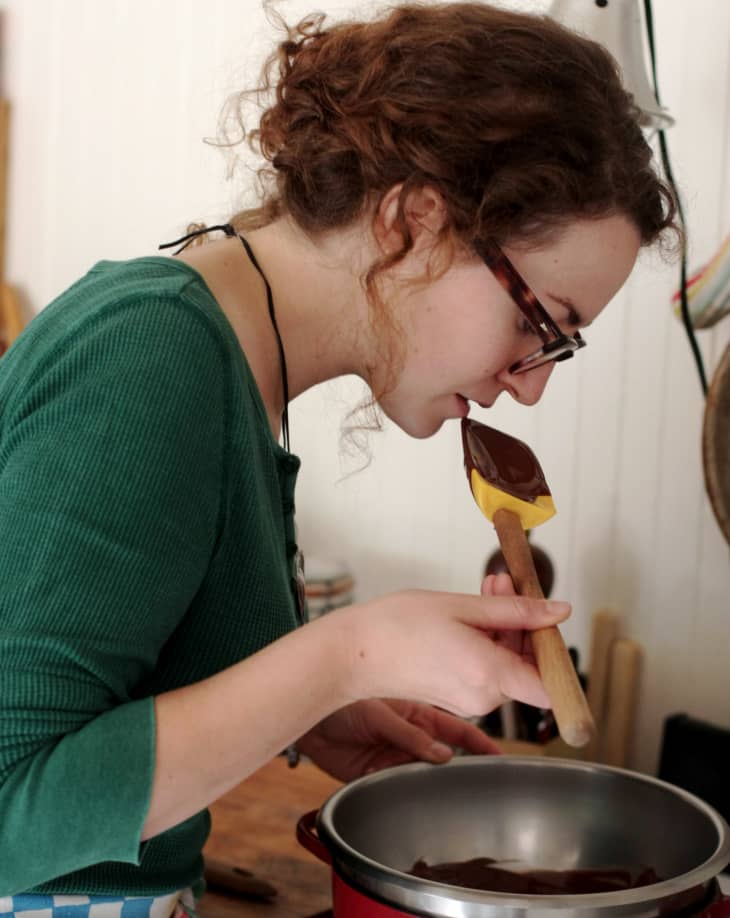
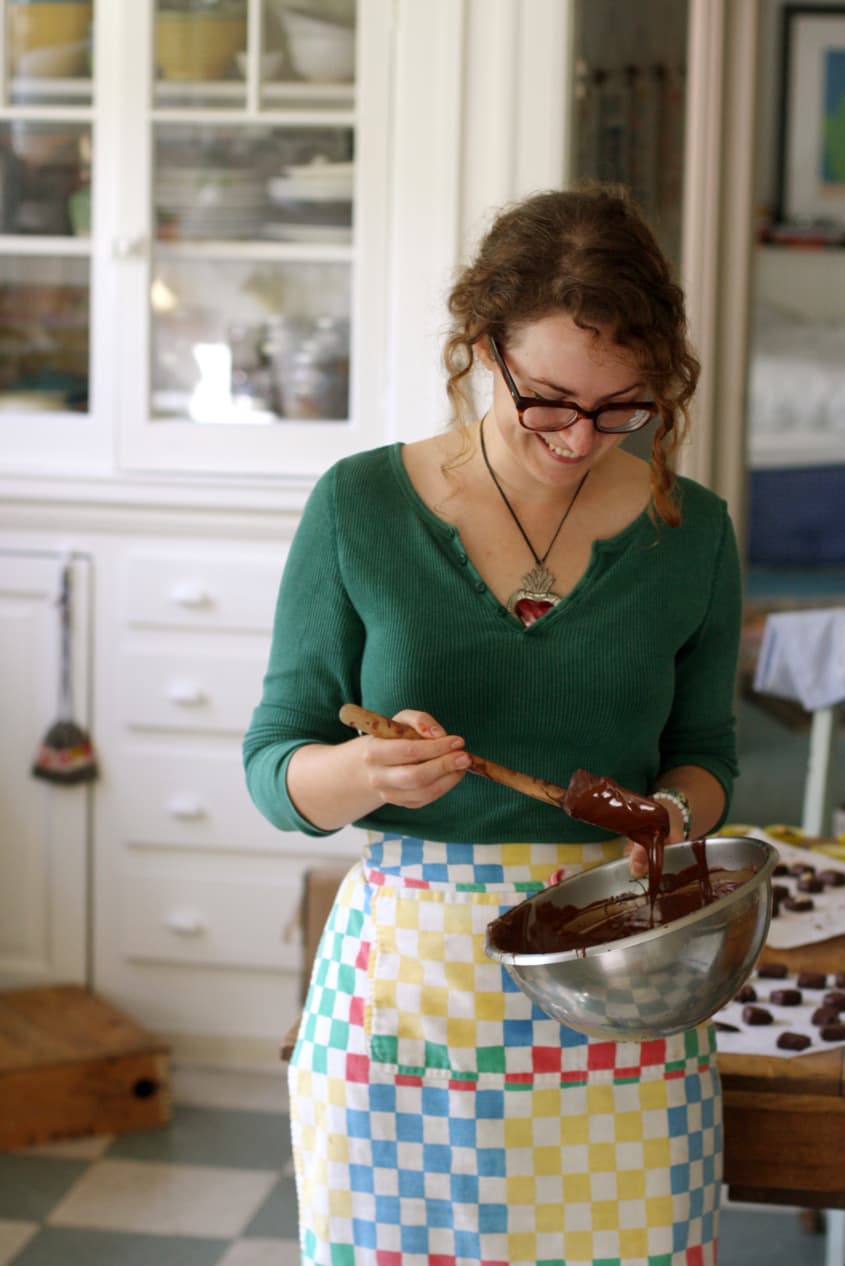
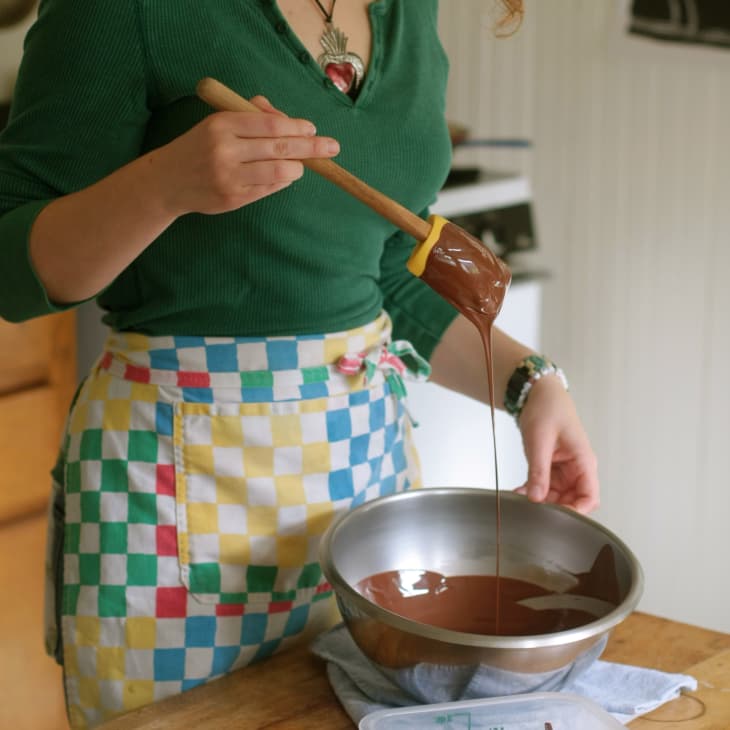
Alexandra Whisnant, chocolatier and owner of a small, avant-garde chocolate company called gâté comme des filles (‘spoiled like girls’), located in Massachusetts, is truly passionate about chocolates. She shows us how to hand dip chocolates — but before we dip, we need to understand how to temper. Alexandra’s method for melting and tempering chocolate, which she learned at Le Cordon Bleu Paris and then perfected as a pastry cook at Chez Panisse, is unusual that it doesn’t rely on a thermometer. Instead, the chocolate’s temperature is tested by bringing the spatula to the area just below your bottom lip and dabbing on a small amount.

After her Ladurée stage in Paris and with her LCB pâtisserie diploma in hand, Alexandra landed at Chez Panisse in 2007, where she made desserts for two years. In 2009, knowing she would want to run her own business one day, she got an MBA from Cornell and then took off back to Paris as a management consultant with Bain & Company. Realizing chocolates were her true passion, she left Bain to practice full time the fine art of chocolate. While in Paris, she launched her chocolates company, gâté comme des filles, making fresh, hand-dipped chocolates in her apartment and selling them in pop-ups events around the city.
What is Tempering?
Tempering chocolate is an essential step for making smooth, glossy, evenly colored coating for your dipped chocolates. Tempering prevents the dull grayish color and waxy texture that happens when the cocoa fat separates out. Tempered chocolate produces a crisp, satisfying snap when you bite into it. (You do not need to temper chocolate that you bake with, such as when you make brownies.) The tempering process takes chocolate through a temperature curve, a process which aligns the chocolate’s crystals to make it smooth, silky, and glossy.
Shopping for Chocolates
When shopping for chocolate, bittersweet and semi-sweet aren’t good terms to go by; try to find chocolate that is labeled with percentages instead. Alexandra likes to use a 70% Valrhona Guanaja chocolate (available at well-stocked culinary and candy-making shops or on Amazon) but any quality chocolate in the 60-70% range will do. If your only choices are bittersweet or semi-sweet, go with bittersweet as it’s likely to have less sugar than semi-sweet.
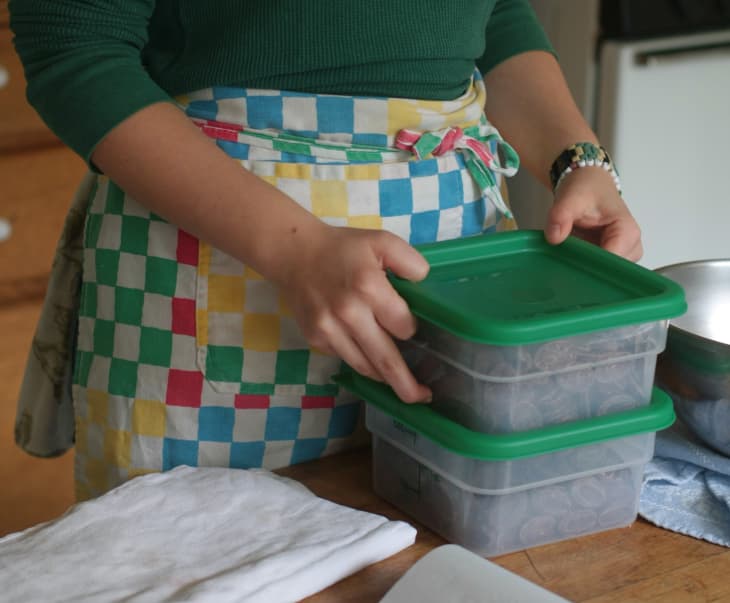
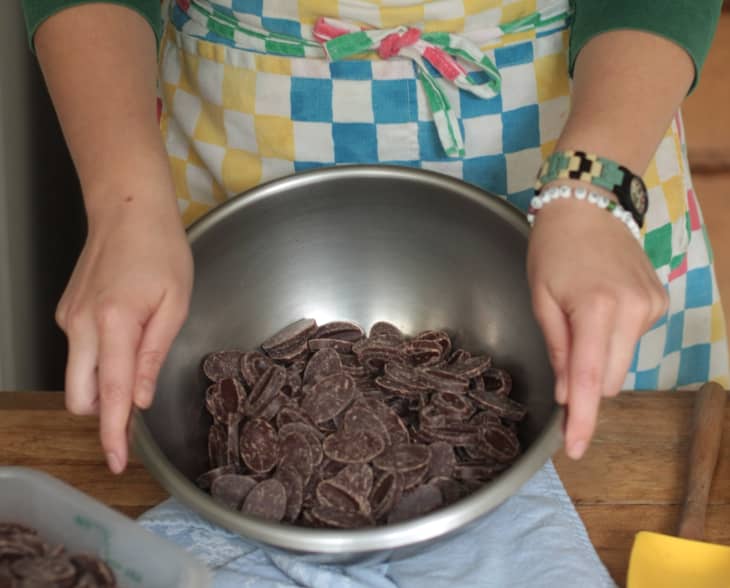
The best form to purchase your chocolate in is in already tempered disks, also known as fèves. Store it in an airtight container in a dark place (not in the refrigerator) and avoid subjecting it to a wide fluctuation in temperatures, which will cause the chocolate to bloom.
Alexandra advises, “Your chocolate shouldn’t have any added wax, just cocoa butter and solids, and sugar. The easiest chocolate to temper has additional cocoa butter added, it’s a special kind of chocolate — called couverture in French — that’s made for tempering and dipping. Don’t use already manufactured chocolate bars as those are already a finished product and are ready to be eaten.” This is another advantage of purchasing fèves, as the cocoa butter percentages are higher for tempering.
Most people don’t realize that all chocolate does not taste alike and that, like coffee, there are many different flavor profiles depending on where the chocolate is from. “Chocolate can be fruity, nutty, spicy,” says Alexandra. “You want to be sure to match your chocolate with your ganache flavor.” (Ganache is the soft, inner part of the chocolate candy that can be made with the addition of a wide variety of flavors.)
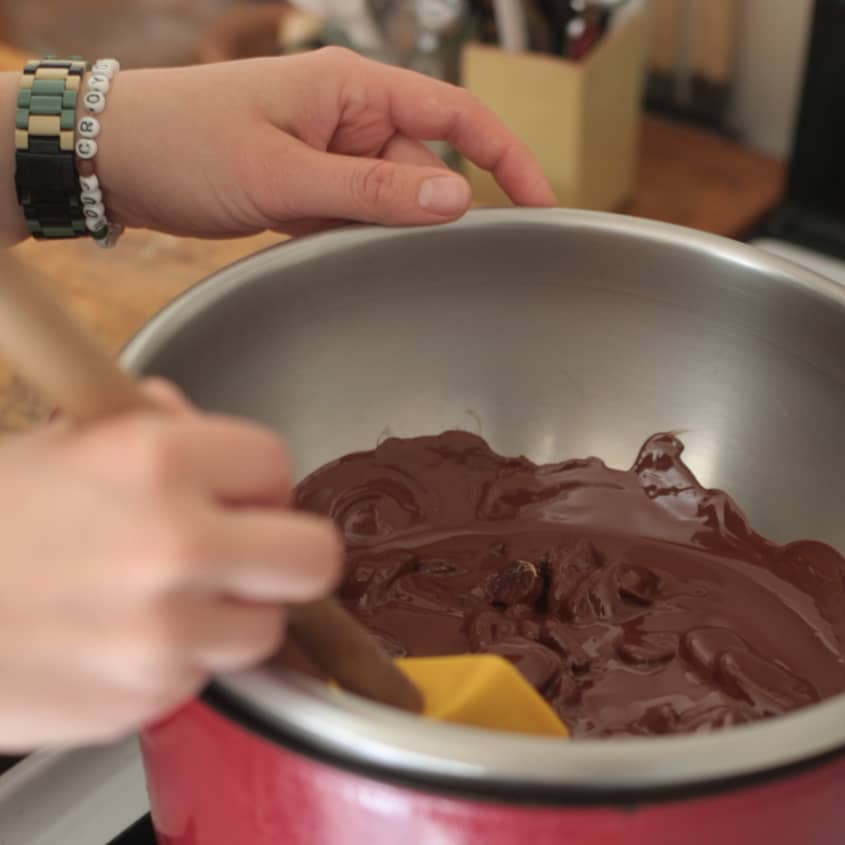
What is Bloom?
If chocolate is incorrectly stored and exposed to a wide range of temperatures, the cocoa fat will separate out from the rest of the chocolate, creating a dull grey coating and roughish texture. If you find that you’ve let your chocolate bloom, you can still use it but you will need to bring it into temper again by ‘seeding’ it with an already tempered chocolate (more on that later). If you receive bloomed chocolate from a manufacturer, Alexandra recommends returning it because it means that the chocolate wasn’t properly cared for.
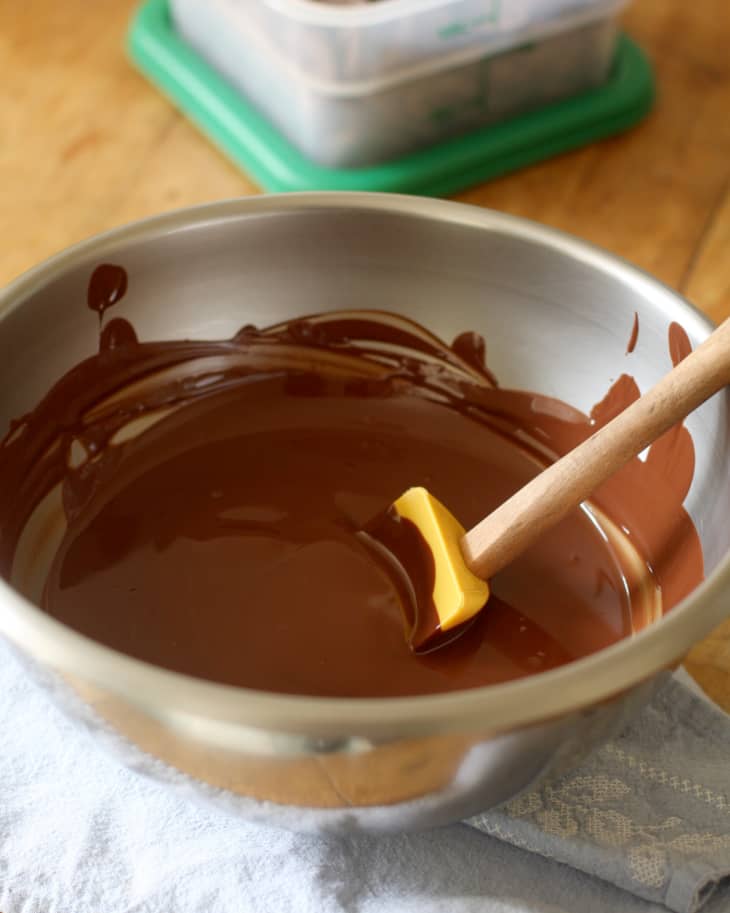
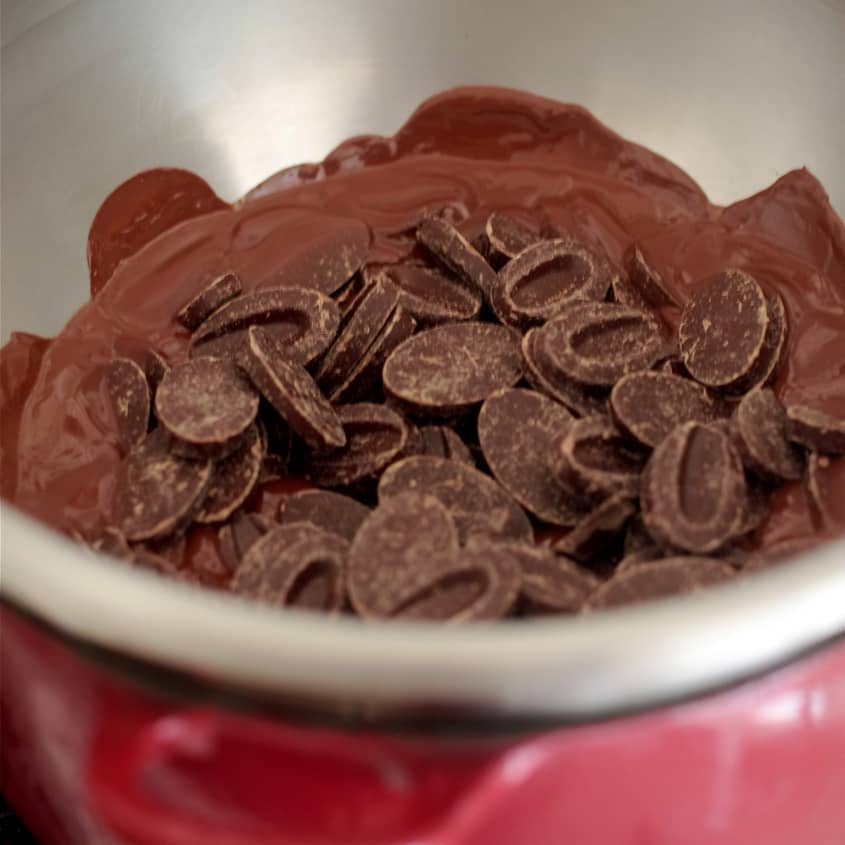
Bloom should not be confused with the normal scuffs and nicks chocolate can get when transported. The chocolate pictured above has not bloomed.
Can chocolate get old? “Yes,” says Alexandra. “Don’t use chocolate that is more than two years old, as the flavor will start to go flat.”
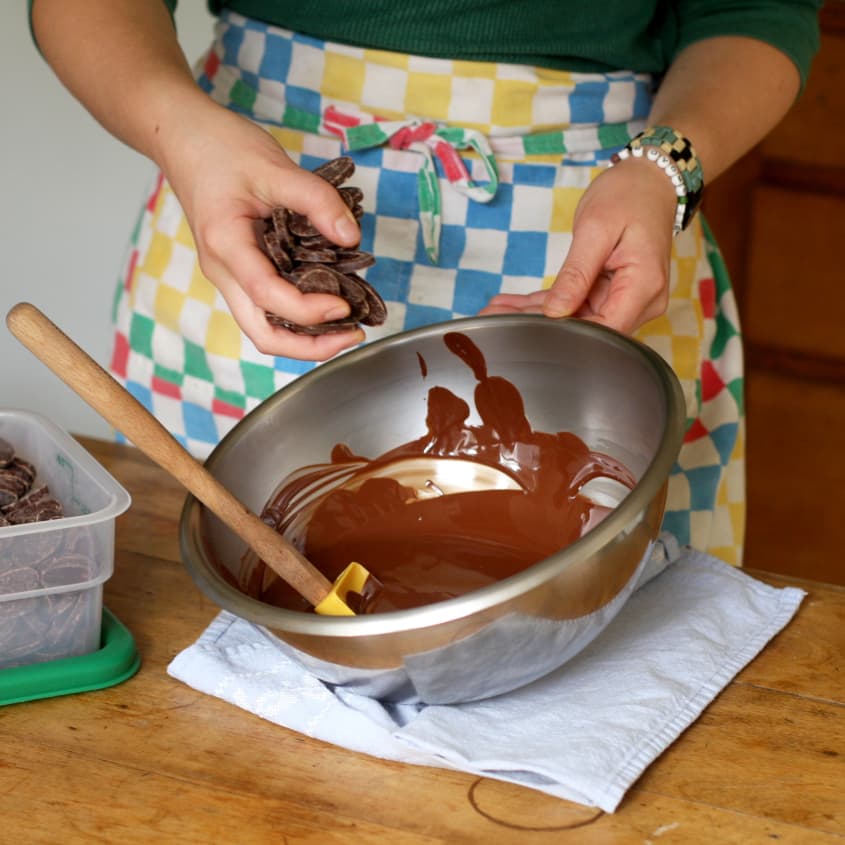
Tempering Chocolate by Seeding
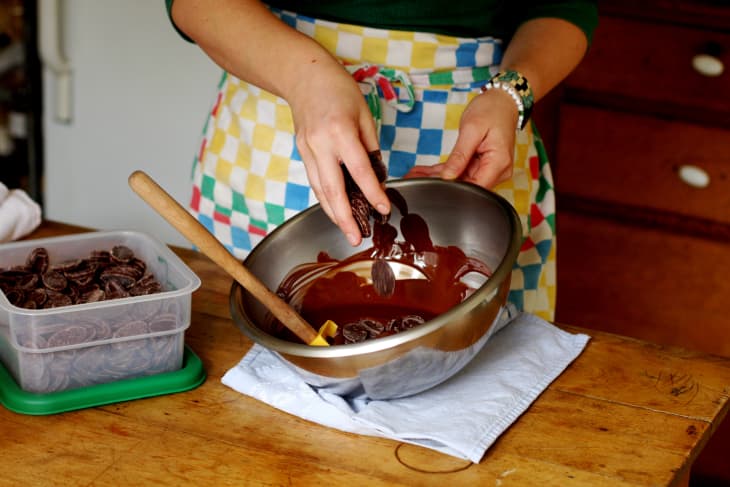
Alexandra’s method for tempering chocolate is called the seed or seeding method. The basic idea is that you add tempered chocolate to melted, untempered chocolate. The tempered chocolate will introduce (or seed) the proper crystalline structure to the overall batch and bring everything into temper.
About 2/3 of the chocolate is melted and removed from the heat. The remaining 1/3 is dropped into the melted chocolate and slowly stirred until it melts and cools slightly. Note: The final 1/3 needs to be tempered chocolate that has not bloomed.
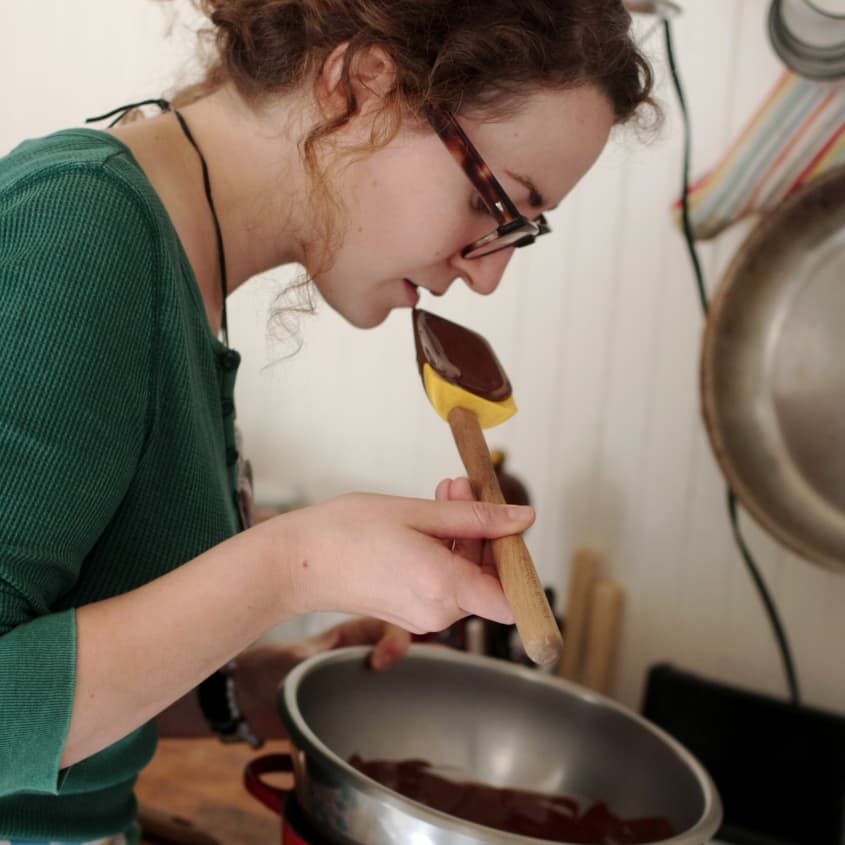
No Thermometer?
Most methods for tempering chocolate use a thermometer and give very precise temperatures for melting and cooling the chocolate. Alexandra uses a method she learned at Le Cordon Bleu in Paris that does not require a thermometer. The chocolate’s temperature is tested by bringing the spatula to the area just below your bottom lip and dabbing on a small amount. Alternatively, you can dab a small amount on the inside of your wrist. (These areas are very heat sensitive and will help you to determine if the chocolate is ready.) It’s really that simple!
Keeping the Chocolate in Temper
Tempered chocolate solidifies quickly as it cools, so it is important to maintain its temperature and to keep it moving while you are dipping. Gently stirring (or having a friend stir as you dip) keeps the chocolate fluid and prevents streaks. As you stir, the chocolate will continue to cool, and it will go out of temper. This can take anywhere from two to 10 minutes, depending on the temperature of your kitchen and the quantity of chocolate (the more chocolate you have, the longer it will stay in temper). You will know it is getting too cool when it become matte, begins to set up on the sides, or become so thick that it takes more energy to stir.
Keep your pot of hot water near at hand, and as soon as you see these signs, submerge the bottom of the bowl in the hot water for one to two seconds, scraping the chocolate up from the bottom and mixing throughout. Quickly remove the bowl from the hot water and keep stirring to evenly disperse the heat. Once evenly stirred, test on your skin to make sure it is still cool. If it is no longer cool, you will need to begin the tempering process all over again.
How To Temper Chocolate Without a Thermometer
Nutritional Info
Ingredients
- Good quality chocolate, between 60-70%
Equipment
- Medium pot for heating water
- Metal that will fit snuggly in the pot
- Kitchen towel
- Rubber or silicone spatula
Conditions
A cold room (room temp or below), low humidity – do not attempt before a thunderstorm!
Instructions
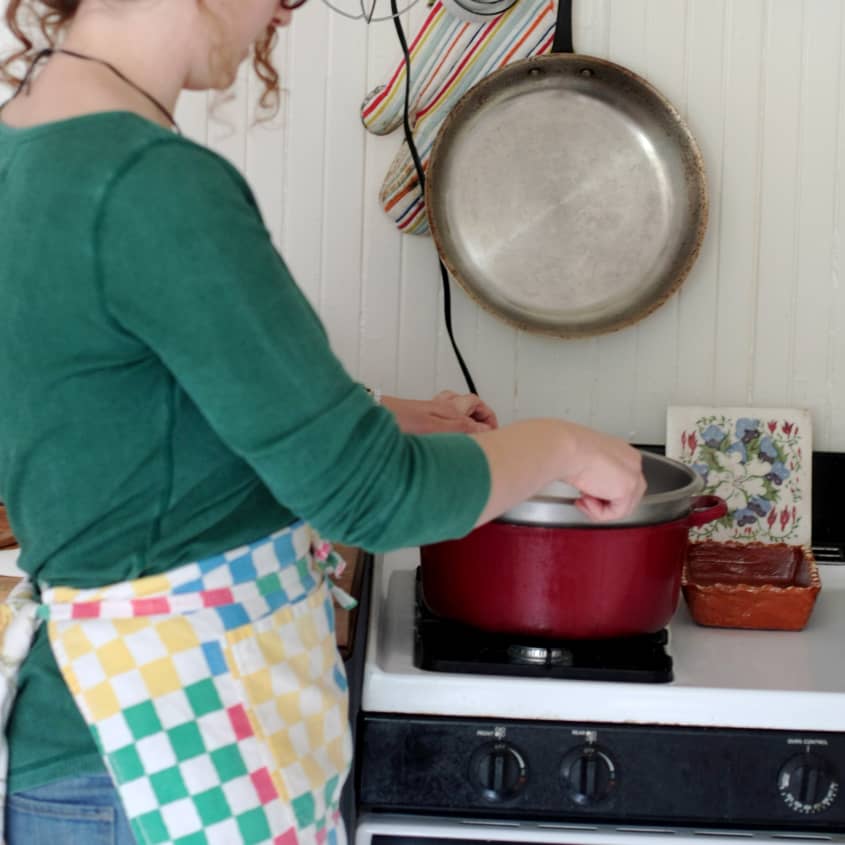
Heat the water: Fill the pot with water and bring it up to a simmer. Turn off the heat.
Begin melting the chocolate: Make sure your bowl is very dry, as any drops of water will seize up the chocolate. Put about 2/3 of your chocolate in the bowl and place it over the water. The water should be touching a large area of the bottom of the bowl. Be very careful that the water does not splash into the bowl. Do not stir! Let the chocolate sit in bowl over the hot water, uncovered, until it is about 2/3 melted.
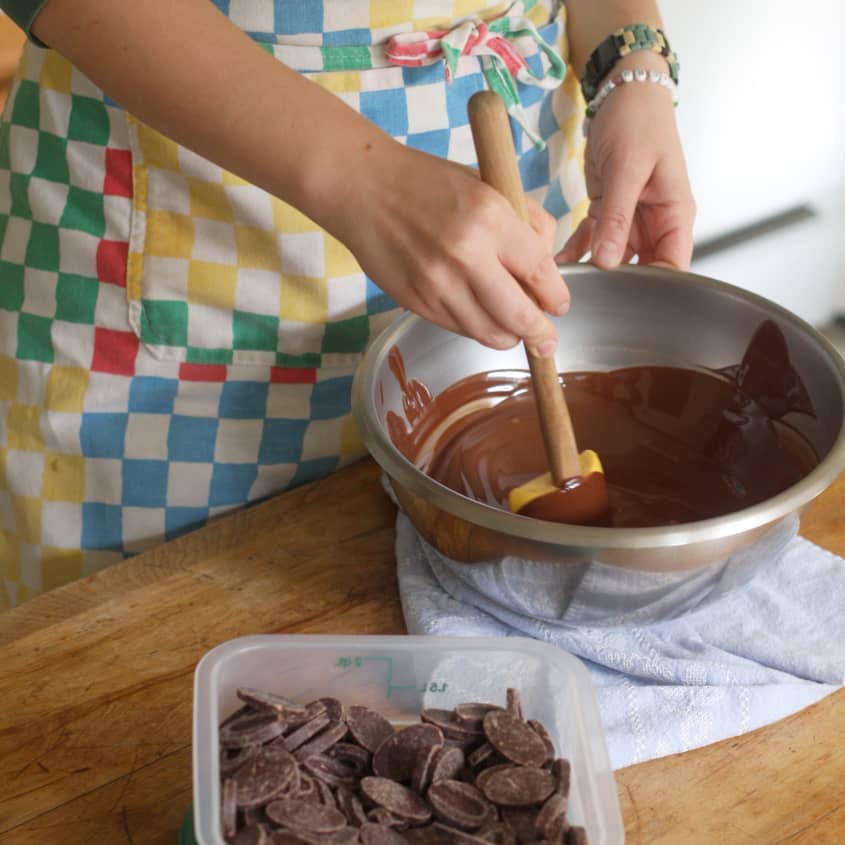
Stir until completely melted: After the chocolate is about 2/3 melted, gently stir it and allow it to melt further. Letting the chocolate partially melt before stirring prevents creating large clumps of solid chocolate glued together by melted, now re-solidified chocolate. Be very careful not to allow any water into the bowl.
Test the temperature of the chocolate: Lift the spatula up to your lower lip and dab a small dot onto the place just below your lower lip. It should sting slightly (but not too much!).
Add remaining chocolate: Remove the bowl from the water and set it on a folded kitchen towel to absorb any water from the bottom of the bowl. Stir in the remaining chocolate (the 'seed'). Stir slowly and gently until the chocolate is completely melted. The chocolate will begin to thicken and become less shiny and more matte as it cools. This part of the process can take up to half an hour. If you want to speed things up, take the bowl to a cooler place (outside, for example – but not the rain!).
Test again for temperature: Once all the seed chocolate has melted, touch the spatula to your lower lip area again. The chocolate should feel cooler than your body temperature. If it feels warmer than your skin, you can drop in a few more pieces of chocolate and keep stirring. If you don’t feel anything, this means the chocolate is at about your body temperature, and you need to keep stirring gently until it cools down. When it is ready it will feel refreshing on your skin. You are now ready to dip your ganache!
Keeping the chocolate in temper. Continue to stir the chocolate as you dip. If the chocolate cools too much, turns matte, and begins to thicken, place the bottom of the bowl back into the hot water for 1 or 2 seconds. Remove quickly and stir the warmer chocolate up from the bottom and throughout the bowl. Test to be sure it has not gotten too hot and resume dipping.
Want more smart tutorials for getting things done around the home?
See more How To posts
We’re looking for great examples of your own household intelligence too!
Submit your own tutorials or ideas here!
(Images: Dana Velden)